Urban Sketching: Drawing on the Spot
Capture a moment on paper while traveling or in everyday life
Do you like sketches made on the spot? Are you thinking about trying this out yourself? Urban sketching is a great way to capture the energy, atmosphere, and unique features of a place. What looks easy, however, is anything but easy at first, as I found out in my self-experiment.
What is Urban Sketching?
At its core, urban sketching is about capturing a place by sketching it on the spot. This can be done in many different ways, but the goal is always the same: to capture the energy, atmosphere, and unique characteristics of a particular place.
As the name suggests, the location is ideally an urban setting, that is, in a city, although this is not a strict rule to follow. The sketch can be drawn in black and white or in color. This decision is entirely up to the artist.
Urban sketching has to be fast and often you don’t have perfect circumstances for drawing like at home at your desk. Accordingly, the results are not perfect, but that’s what urban sketching is all about.
The most important point in urban sketching is that you draw on the spot. Under no circumstances should you leave the place and then draw it from memory, and certainly not from a photograph.

Material: What you need for Urban Sketching
The choice of material should primarily depend on your personal preferences. However, since drawing outside is no walk in the park due to dear mother nature, here are a few tips about useful material for urban sketching.
Paper
A sketchbook is great for urban sketching. However, I would recommend bringing at least two staples to hold the pages in place. During my first urban sketching attempts, I didn’t have any with me and the wind was flipping through my sketchbook over and over again as I tried to work in it.
If you prefer to draw on loose sheets, take a clipboard or similar support with you, and again, make sure the sheets of paper are secured to it.
Pencils
Pencils sound like a good idea, but I would rather recommend using a fine liner, ink, or ballpoint pen. Soft pencils can smear, and hard pencils may not be dark enough. In addition, pencils can tempt you to use an eraser, but in urban sketching, mistakes and crooked lines are allowed. These should be drawn confidently and left as they are.
Ink, Fine Liner, Ballpoint Pen
Clear outlines and strong contrasts between paper and line are a big advantage in urban sketching. Therefore ink, fine liner, and ballpoint pen are good choices for the main tool. I would advise a black pen to start with, but if you only have a blue ballpoint or green fine liner handy, don’t let that stop you from urban sketching.
Colored Pencils, Watercolor Pencils, Watercolor Paints
You can use colored pencils, watercolor pencils, and watercolors (or other paints) to refine your sketch. Colors allow us to capture an atmosphere in a different way than would be possible without them.
If you want to use watercolor paints or watercolor pencils wet, I would recommend a brush with a water tank. A regular brush is also possible, but then you have to take another container with you, fill it with water and also make sure it doesn’t tip over outside. A brush with a water tank is much more practical in comparison.
Folding Stool
A folding stool is not a must, but it is very practical. Without a stool, you’re forced to find a place to sit on-site, but a folding stool allows for limitless possibilities.
Small Box, Pencil Case, or Similar
Something I missed, especially during my first attempts, was anything that stored my supplies while making them easily accessible to me.
I took a small case with me that carried my supplies well, but it was way too cramped to quickly grab a specific pencil in there while working. So I put all the pens in a row next to me, only to pick them up off the floor after the wind blew them all down.
Tips for Urban Sketching
I approached my urban sketching attempt very confidently, which I put into practice on a trip to Belgium and the Netherlands. I enjoy sketching and have sketched outside a few times in the past - what could go wrong?
Quite a lot went wrong, to be honest! I massively underestimated urban sketching but learned a lot of new things at the same time.
Say Goodbye to Perfectionism
When people say that sketches don’t have to be perfect, what they really mean is that you shouldn’t make a drawing. I found this very difficult and although I had an idea of what I wanted my finished urban sketches to look like, I unconsciously worked on drawings instead of sketches in the beginning.
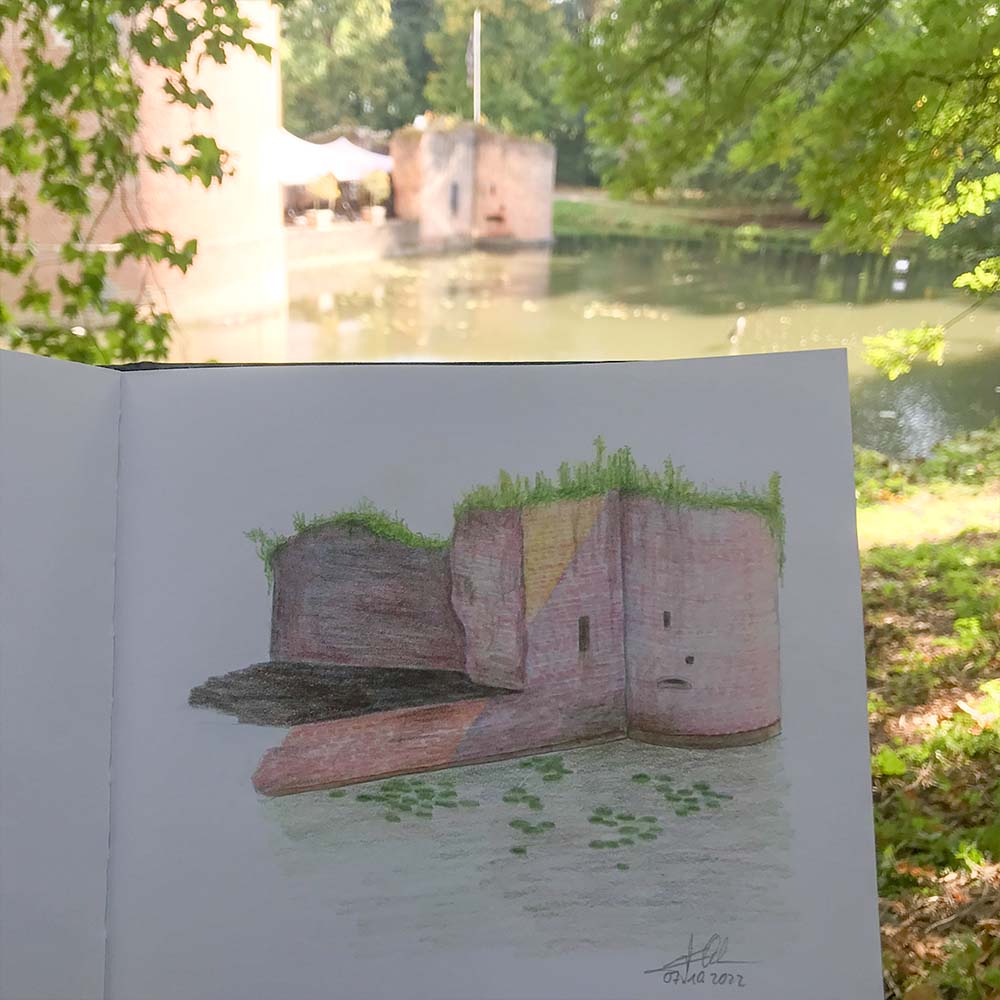
Urban sketching is supposed to be quick, so there is no time for details. Instead of working on the shadows and textures, I should have worked on the contours for my castle section, drawn the many ducks in the water, or added the background.
However, I spent a full hour working on the smallest areas in isolation, completely overlooking the fact that I didn’t add any yellow to the lower wall and thus the whole light and shadow game didn’t work.

Dare to Draw a Clear Line
The pencil is one of my favorite tools, but it wasn’t suited for my urban sketching project. I regretted not packing a good fine liner because the pencil’s lines were lost even next to the very thinly applied watercolors.
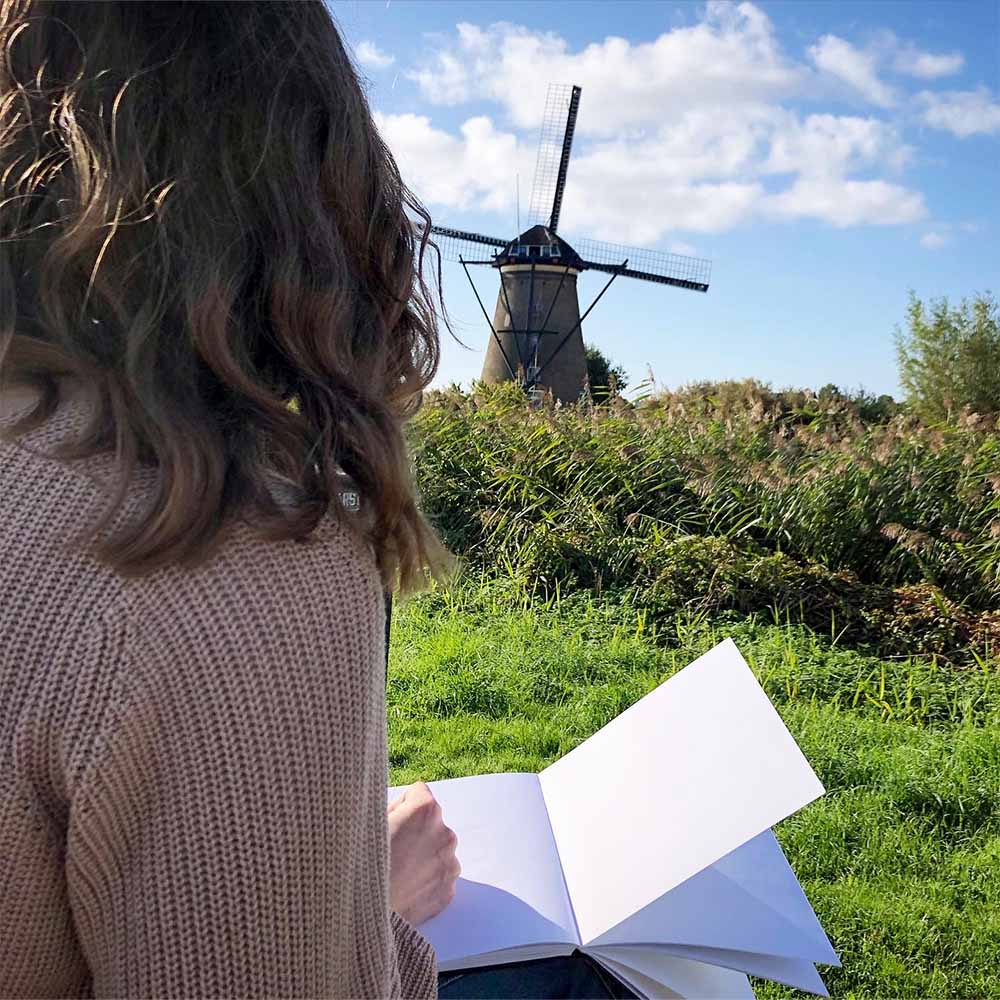
Strong black lines would have improved the sketch of the windmills in Kinderdijk a lot, but this way I managed to make the UNESCO World Heritage Site look completely washed out.

Choose a Simple Scene to Start with
My first subject to sketch was the Waterpoort in Antwerp, a triumphal arch with many ornaments. A photo of my sketch doesn’t exist because it wasn’t finished and I was so frustrated with it that I tore the sheet out of my sketchbook and threw it in the nearest trash can. After that, I was sure that urban sketching was not for me.
A few hours later, however, I started a second attempt in a secluded backyard with a much simpler reference: a house wall. Here, sketching was fun again, and that’s one of the most important things about urban sketching.

Take a lot of Room
And I don’t mean the room at the location, but the room on the paper. Urban sketching works best when you can draw long lines on paper and have to move your whole hand while sketching.
In my first urban sketches, I drew very small and the longest lines could be drawn without having to take my hand off the paper. All the details had very little space and even though you are only supposed to hint at details in urban sketching and not draw them out, there was hardly any space even for that.
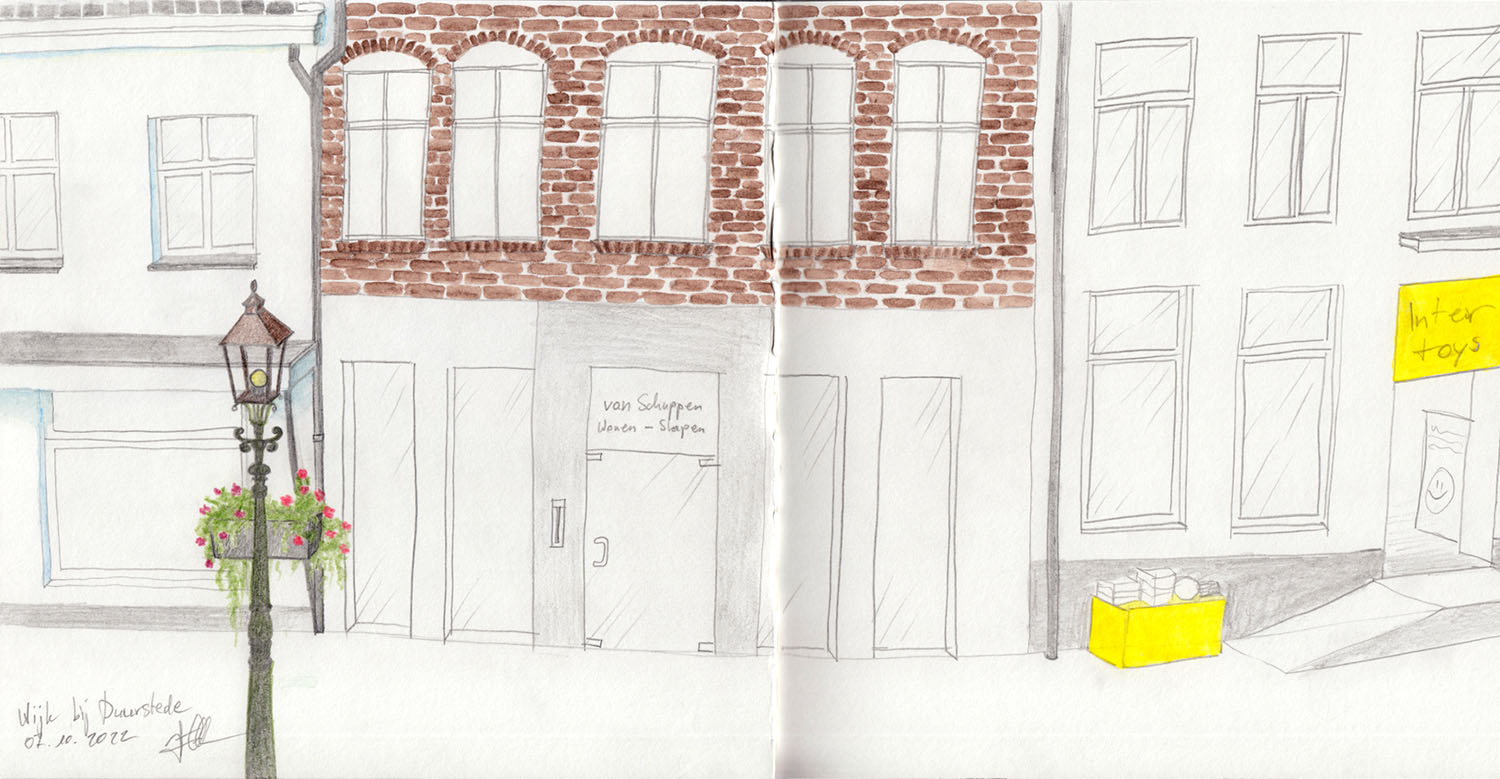
I took a double-page spread for my final sketch. After I wasted way too much time on the lantern again and the sun was slowly setting, I was forced to draw the rest of the sketch very quickly. And lo and behold - at this moment it finally clicked. Within minutes, three house walls emerged with clear, albeit crooked, lines and I finally felt like I was looking at an urban sketch.

Anyone can learn Urban Sketching
Whether you’ve been drawing for a long time or you are a beginner, somehow everyone starts from scratch with urban sketching. Don’t think too much about your drawing skills, just grab your supplies and get started. My tip: Don’t be too hard on yourself. If the first attempts don’t work, think about why and try again as soon as you feel ready.
Have you had any experience with urban sketching or want to try it out? Feel free to share your thoughts below in the comments.
Similar Posts