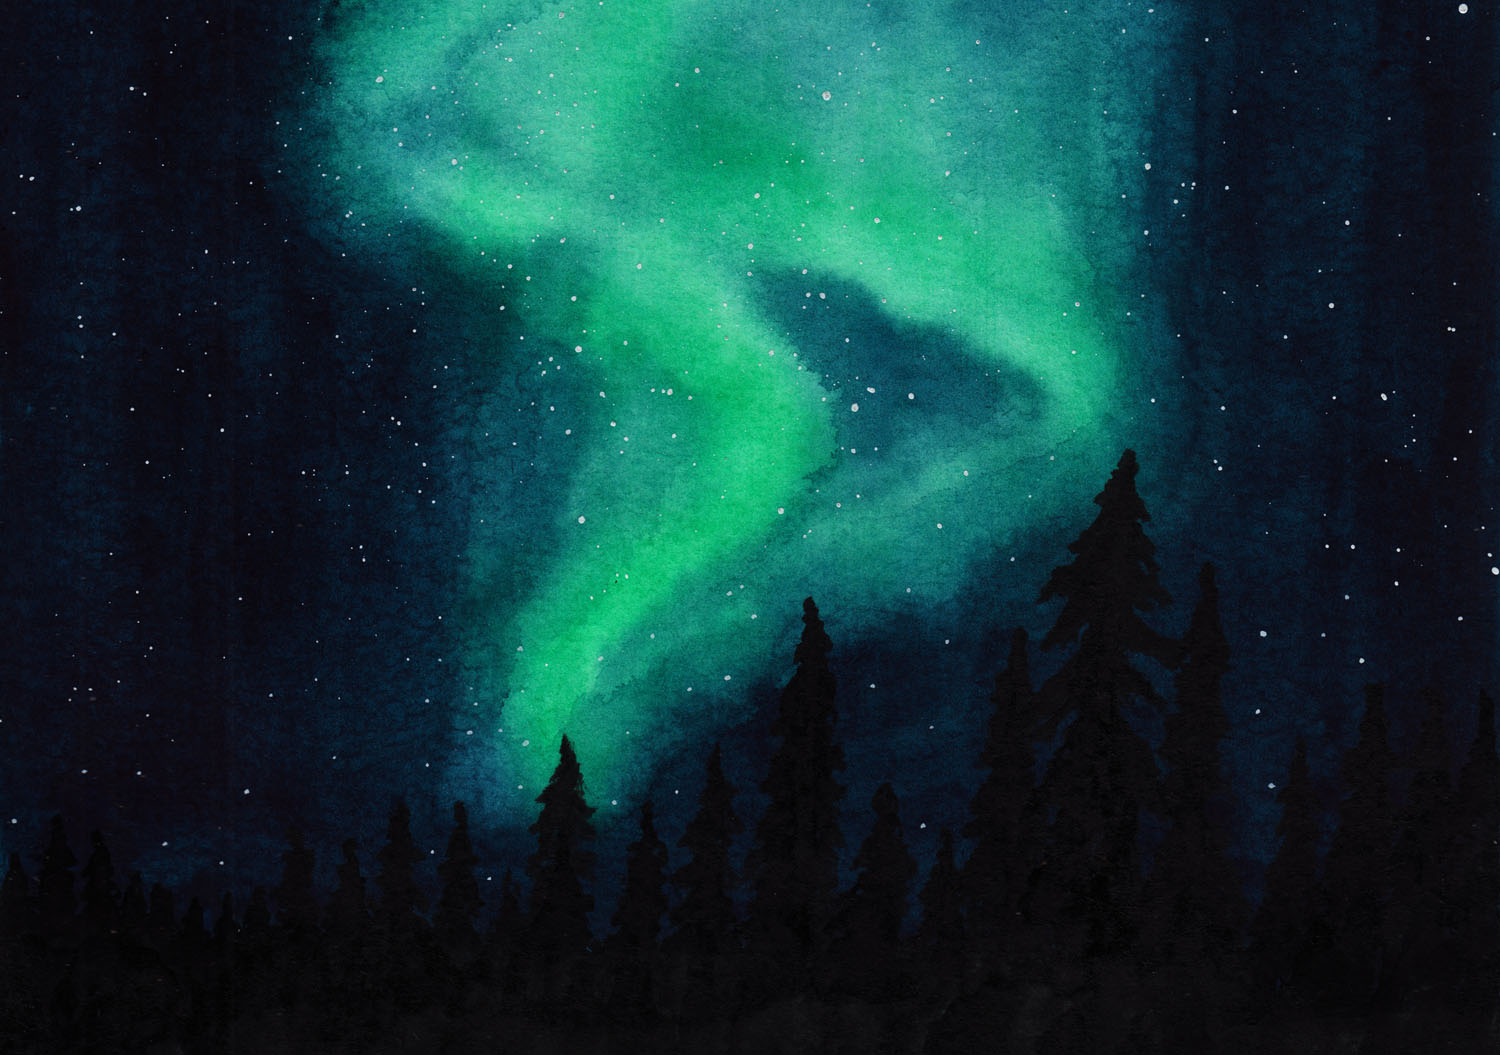
Painting Northern Lights with Watercolors
Create a picturesque landscape with northern lights in a few steps
A night sky illuminated by the breathtaking colors of the Northern Lights is a sight that fuels the imagination and warms the hearts of many. The shimmering green hues gently stretching across the horizon transport us to a world of magic and mystery. Most of us haven’t seen this natural spectacle in person, but we can easily bring it to paper in just a few steps.
Materials
For this painting, you will need watercolor paper, watercolor paints in green and blue tones, and at least two watercolor brushes of medium size (e.g., 10). Additionally, you will need white gouache and a black pigment carrier, such as ink, a charcoal pencil or fineliner. A pencil is less suitable for this painting, as it will shine on the dark background.
Step 1: Painting Green Lights
Before we start, wet the entire surface of your watercolor paper with a clean brush and clear water. This step is important as we will be working with the wet-on-wet technique to create the typical color gradients of the Northern Lights.
Then, mix the green paint with enough water and apply it with the brush in one or more curved lines. You can watch the pigments spread on the paper.
Since the Northern Lights stretch upwards into the sky, tilt your paper so that the paint flows towards the top of the picture. Guide the paint additionally with your brush, which you briefly rinse in clear water, and draw lines over the areas with the green paint.
Let the paper dry completely before proceeding to the next step.

Step 2: Painting the Sky
For the next step, you will need an additional brush soaked only in clear water, besides your paintbrush. We need it to create smooth transitions between the wet and dry areas.
Generously apply the dark blue paint around the Northern Lights. Whenever you get close to the green areas, dip the second brush in water and gently pull it along the dark blue paint areas to create a smooth color gradient.
Make sure to apply the paint lighter over the green lines. The stripes we drew in step 1 should shine through the dark blue.
You can leave a large area at the bottom free, which we will fill with black paint in the next step.

Step 3: Painting Trees and Stars
In this final step, I recommend starting with the stars. Since you apply these in splatters with white gouache, we don’t want to add them at the end as stars might land on the trees.
You can easily create the white splatters with a small brush by flicking it against another brush just above the paper. You can see how I paint stars for another picture in this reel on YouTube.
After the stars, grab your black paint for the trees. It’s perfectly fine to just suggest the trees, they don’t need to be perfect. The shape of my trees is very similar to those in this tutorial.
